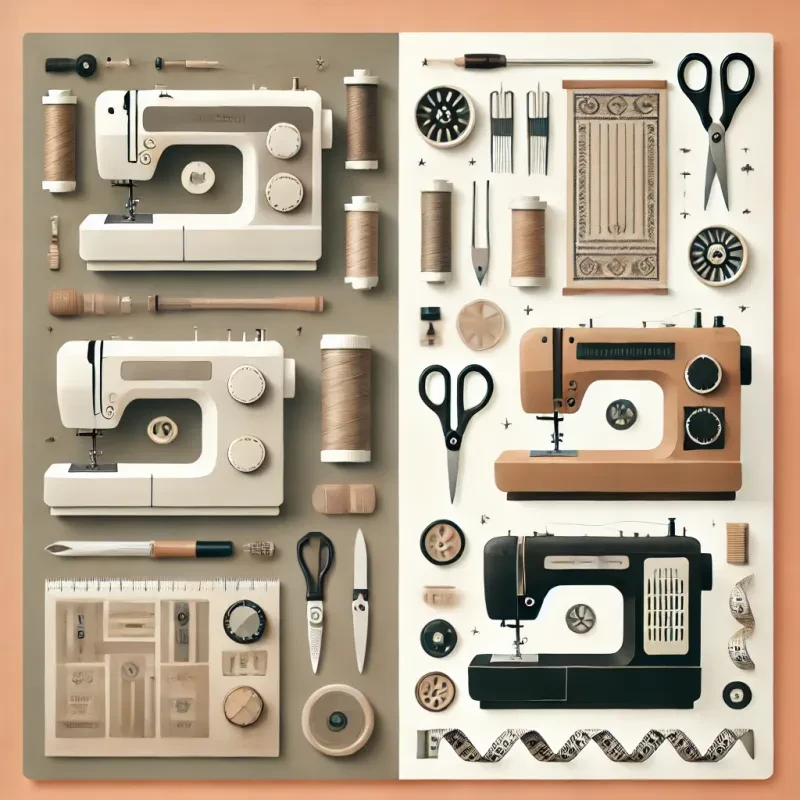
Sewing precise seams is crucial to achieving professional results in your sewing projects. Whether you're working on garments, quilts, or home decor items, neatly stitched seams are the foundation of any well-constructed piece. However, sewing perfect seams can be challenging, especially for beginners. In this article, we’ll cover essential tips for sewing accurate seams and common mistakes to avoid.
Why Precision in Seams is Important
Seams are where two pieces of fabric are joined together, and their accuracy affects the overall structure, fit, and appearance of your project. Crooked or uneven seams can cause issues with alignment, distort the fabric, or affect the fit of a garment. By focusing on precision and avoiding common mistakes, you’ll improve the quality of your sewing and produce polished, professional results.
Tip 1: Measure and Mark Seam Allowances
Before you start sewing, it’s important to accurately measure and mark your seam allowances. Standard seam allowances are typically ⅝ inch for garments and ¼ inch for quilting, but this can vary depending on the project.
How to Measure Seam Allowances:
- Use a seam gauge or ruler to measure your seam allowance from the fabric edge.
- Mark the seam allowance with tailor’s chalk, a fabric pen, or a disappearing ink marker.
- Ensure that your markings are clear but light enough not to show on the finished product.
Common Mistake:
Failing to mark or measure your seam allowance can result in inconsistent seams, which can affect the overall fit and structure of the project.
Tip 2: Pin or Clip Your Fabric Pieces
Once your fabric is cut and your seam allowances are marked, it’s important to pin or clip the fabric pieces together. This keeps everything aligned and prevents the fabric from shifting during sewing.
How to Pin Fabric Correctly:
- Pin perpendicular to the seam line to avoid distorting the fabric. This also makes it easier to remove pins while sewing.
- Use clips for delicate fabrics that may be damaged by pins, or when working with thick fabrics like denim or leather.
Common Mistake:
Sewing without properly securing the fabric can lead to misalignment, resulting in uneven seams or mismatched pattern pieces.
Tip 3: Use the Right Needle and Thread
Choosing the right needle and thread for your fabric is essential for precise seams. Using the wrong size or type of needle can cause skipped stitches, uneven tension, or fabric damage.
How to Choose the Right Needle and Thread:
- Match the needle size to the fabric weight. For example, use a size 80/12 needle for medium-weight fabrics like cotton, and a size 90/14 needle for thicker fabrics like denim.
- Choose a high-quality thread that is compatible with your fabric. Cotton thread works well for natural fibers, while polyester thread is better suited for synthetic fabrics.
Common Mistake:
Using the wrong needle or thread can result in skipped stitches, tension issues, or broken threads, affecting the quality of your seams.
Tip 4: Adjust Your Machine’s Stitch Length and Tension
For precise seams, you need to adjust the stitch length and tension settings on your sewing machine according to the fabric type and the project.
Stitch Length Tips:
- Use a shorter stitch length (2.0–2.5 mm) for lightweight fabrics or delicate seams.
- For heavier fabrics, use a longer stitch length (3.0–4.0 mm) to accommodate the thickness.
Tension Tips:
- Set your machine’s tension to the recommended level for the fabric you’re using. Too much tension can cause puckering, while too little can result in loose, uneven stitches.
Common Mistake:
Not adjusting stitch length and tension can lead to problems like puckering, uneven stitches, or fabric bunching.
Tip 5: Sew Slowly and Maintain a Steady Pace
Rushing through your sewing can result in crooked or wavy seams. To achieve precise seams, it’s important to sew at a steady, controlled pace.
How to Sew at a Steady Pace:
- Start slowly, especially when sewing curves or tricky areas like corners or seams with multiple layers.
- Focus on keeping the fabric aligned with the guide on your machine’s throat plate.
- Avoid pulling or pushing the fabric, as this can distort the seams.
Common Mistake:
Sewing too fast can cause the fabric to shift, leading to uneven or wavy seams.
Tip 6: Use a Seam Guide or Presser Foot Attachment
If you struggle with maintaining consistent seam allowances, consider using a seam guide or presser foot attachment to help keep your stitches straight.
How to Use a Seam Guide:
- Many sewing machines have built-in seam guides on the throat plate, allowing you to align the fabric edge with a specific measurement.
- Alternatively, you can attach a seam guide or use a presser foot designed for specific seam allowances, such as a ¼-inch foot for quilting.
Common Mistake:
Eyeballing your seam allowance without a guide can lead to uneven or crooked seams, especially over long distances.
Tip 7: Backstitch at the Beginning and End
To secure your seams and prevent them from unraveling, always backstitch at the beginning and end of each seam. This reinforces the stitches and ensures durability.
How to Backstitch:
- Start sewing forward for about ¼ inch.
- Press the reverse button or lever to sew backward for a few stitches, then continue sewing forward along the seam.
- Repeat this process at the end of the seam to secure the stitches.
Common Mistake:
Failing to backstitch can cause your seams to come undone, especially in high-stress areas like sleeves, hems, and waistbands.
Tip 8: Press Seams After Sewing
Pressing your seams after sewing is a key step in achieving neat, professional-looking results. Pressing helps flatten the seams, making them more precise and easier to work with in the next steps of your project.
How to Press Seams:
- Use an iron set to the appropriate heat level for your fabric.
- Press seams open or to one side, depending on the pattern instructions.
- For delicate fabrics, use a pressing cloth to prevent scorching or shine.
Common Mistake:
Skipping the pressing step can result in bulky seams that don’t lay flat, affecting the overall appearance of the project.
Tip 9: Trim Seam Allowances and Clip Corners
For a clean, crisp finish, trim excess seam allowances and clip corners, especially on curved seams or bulky fabrics.
How to Trim Seam Allowances:
- After sewing, trim the seam allowances to reduce bulk, especially on curved edges or inside corners.
- Clip the corners or notches to allow the fabric to turn smoothly, preventing puckering or bunching.
Common Mistake:
Leaving excess seam allowances or failing to clip corners can create bulky seams that don’t lay flat, resulting in an unprofessional finish.
Conclusion
Sewing precise seams is an essential skill that can take your sewing projects from amateur to professional. By measuring accurately, adjusting your machine settings, and taking your time, you can avoid common mistakes and achieve beautifully sewn seams every time. Practice these tips and watch your sewing skills improve with each project.
